
In my series on the different ways to insert your hook in order to create different stitches, it’s time to talk about post stitches!
A post stitch is a stitch that is worked not in the top of the stitch, but around its “body,” or “post.”
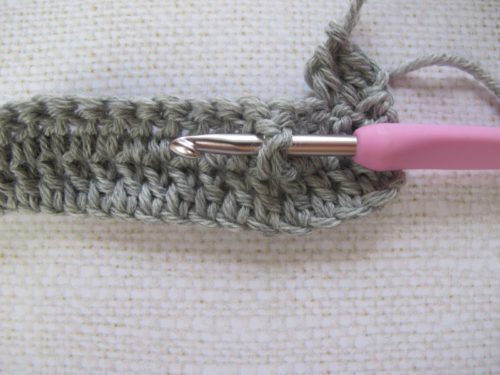
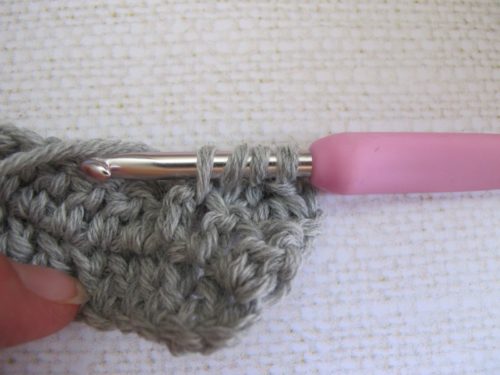
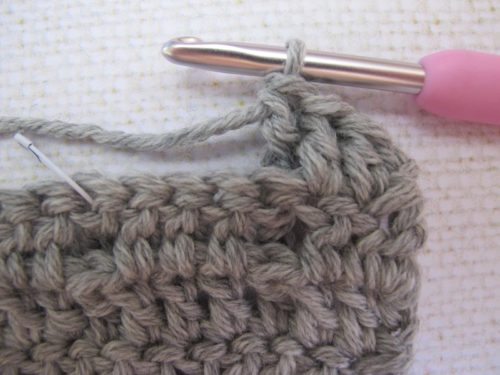
In this swatch of dc’s, to make a post stitch, I insert my hook either like this:
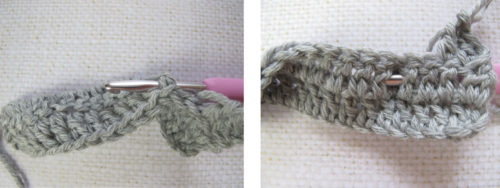
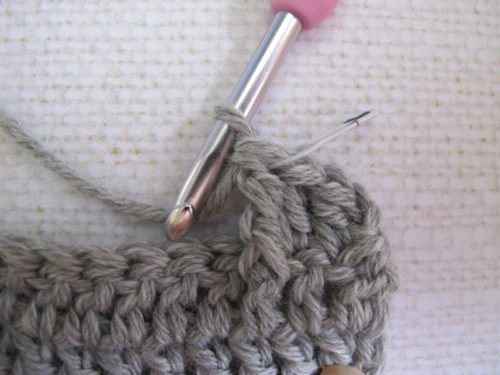
… or like this:
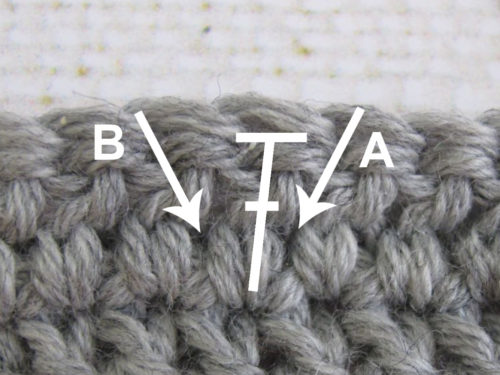
The hook enters in the space just before the stitch (A) and exits in the space just after the stitch (B). The stitch is made around the body of the stitch below.
But before we start, let’s think a bit.
A stitch worked around the post of the stitch below (rather than in its top) will have its base lower in the work. If you want to keep the new row at the same height throughout (which I want to here!), you must work a taller stitch around the post compared to the stitches next to it.
In this swatch in solid dc’s, I will work my post stitches as trebles.
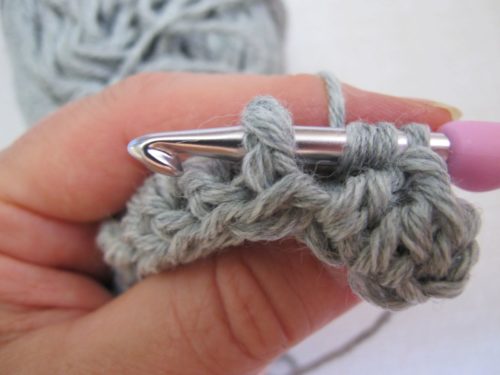
I start my treble as usual, with 2 yarnovers, and I put my hook around the body of the dc in the row below. I insert the hook from front to back, go behind the stitch, and out again on the other side from back to front.
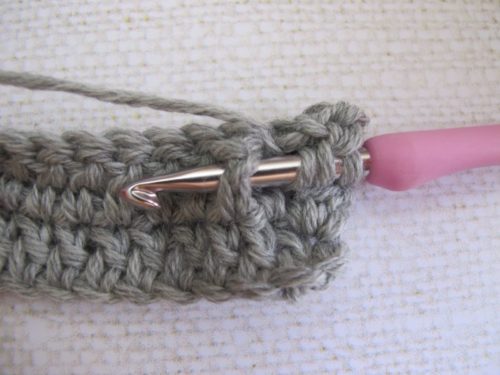
I pull up a loop so I have 4 loops on the hook, and I finish my treble as usual.
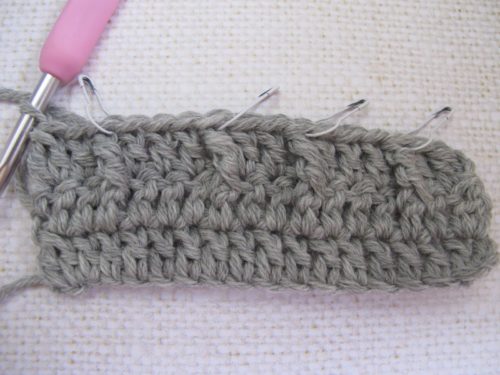
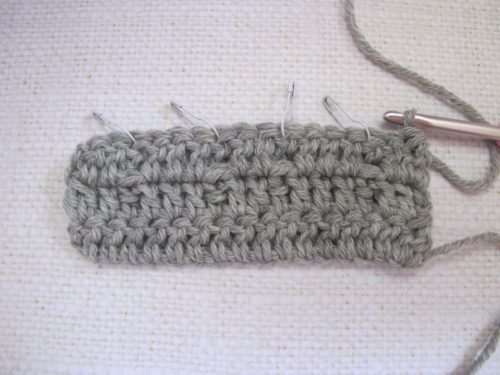
This finished stitch is a front post treble or FPtr. I put a marker in the stitch so I can easily spot it when working the next row.
In conclusion, a front post stitch is a post stitch made by inserting the hook from front to back and going out again from back to front.
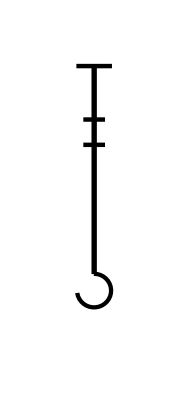
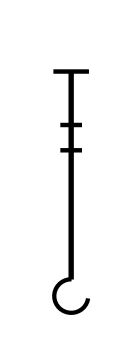
The symbol for the front post treble (FPtr) is a treble with a little hook at the base – take care to note the orientation of this hook!
There is a total of 4 FPtr on this row, with a marker in each FPtr.
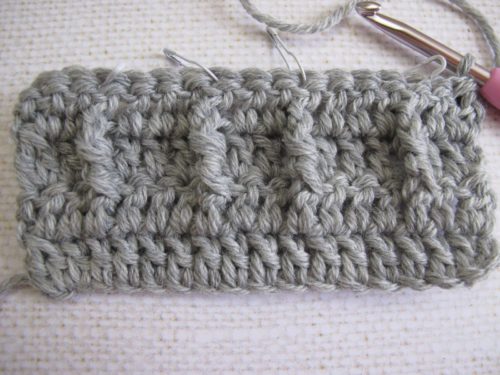
Turning the swatch, it is immediately clear that the post stitches look very different on the wrong side.
Post stitches are not reversible. To obtain a front post stitch on one side, you must make a back post stitch on the other.
To make a back post treble or BPtr, insert the hook from back to front, go in front of the stitch, and out again on the other side from front to back.
Nothing much to see on this side…
But on the right side, it looks good!
In conclusion, a back post stitch is a post stitch made by inserting the hook from back to front and going out again from front to back.
The symbol for the back post treble (BPtr) is also a treble with a hook at its base – but this time the hook is turned the other way.
I do admit that I find charts with post stitches rather hard to read, since the rows overlap. To see examples of charts and stitch patterns with post stitches, you can refer to my tutorial from June 2017.
A rather common way to use post stitches is in crochet cables. I discussed this in the tutorial for July/August 2017, as well as September 2017.
But there are other ways to use post stitches, as we will see next time!
Meanwhile, you might enjoy a video on the basic principles for post stitches:
See you soon!
I always look forward to your stitch tutorials. Thank you!
Thank you Karen, this makes me so happy!