
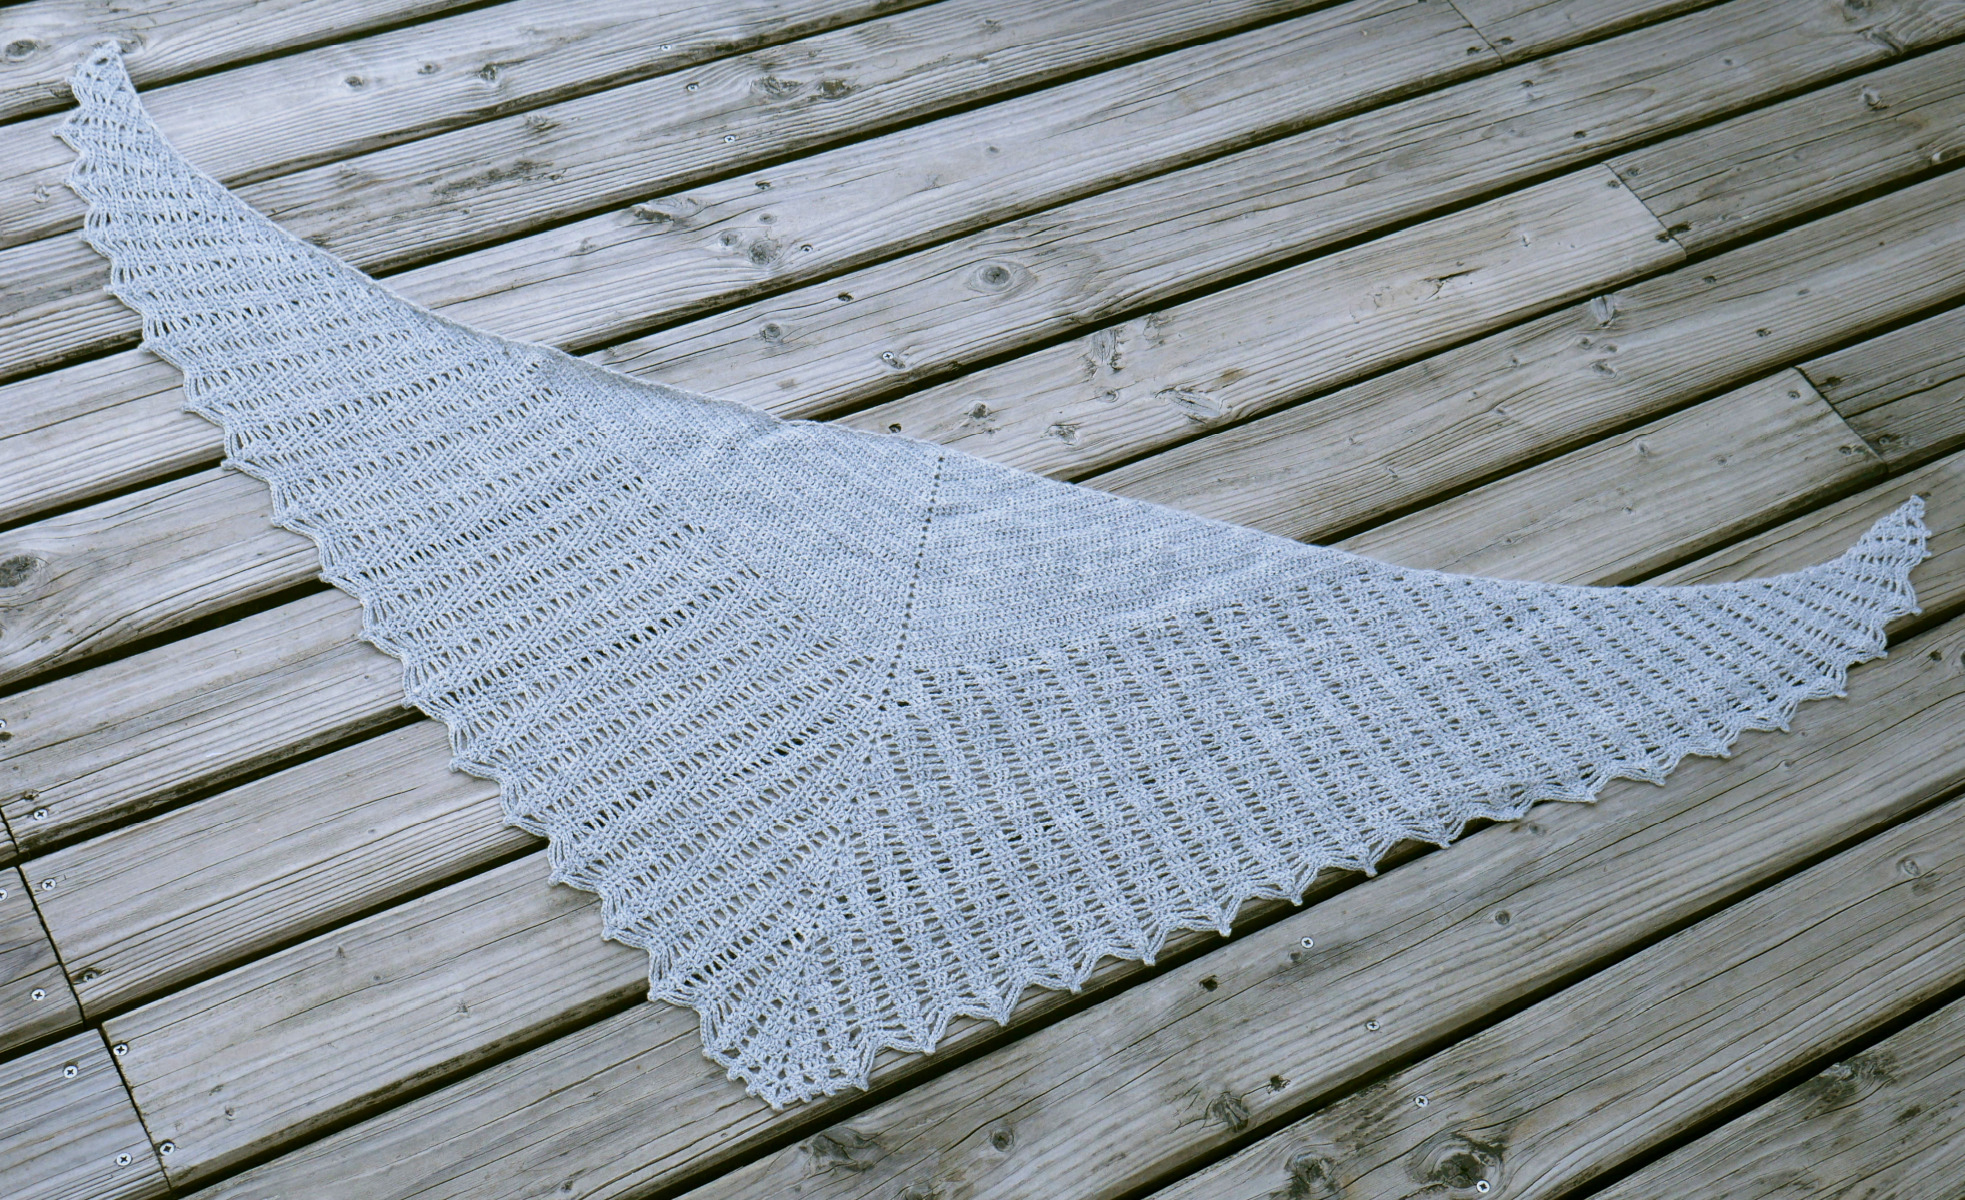
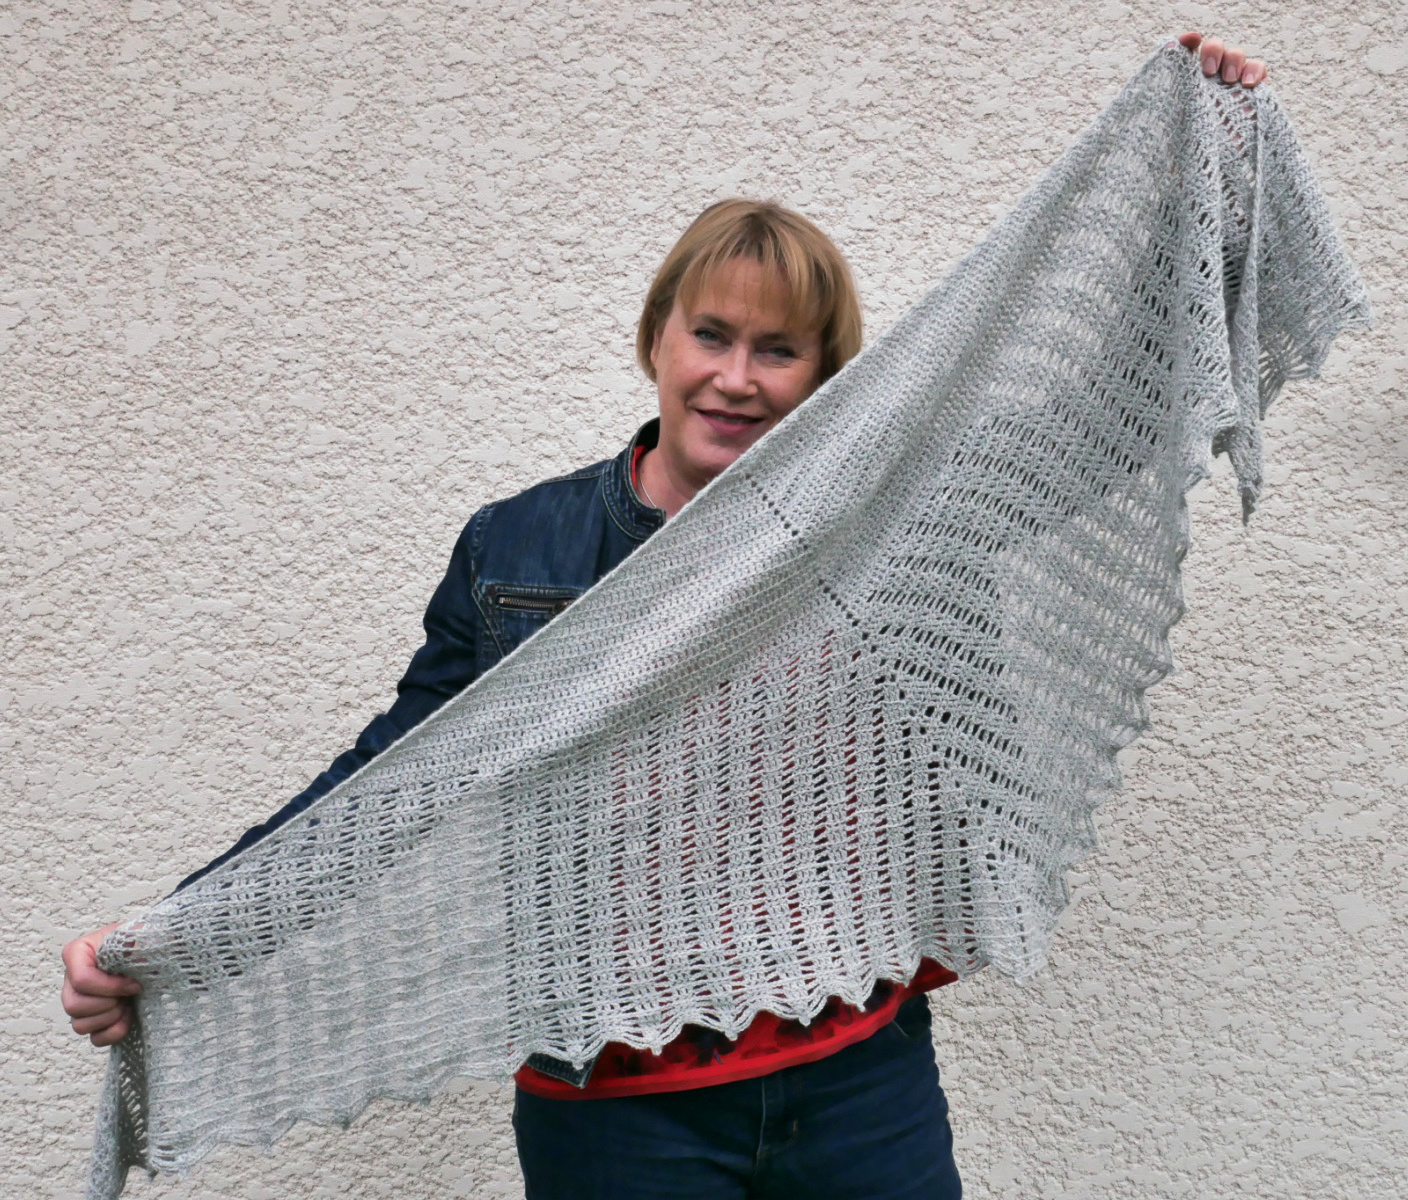
The pattern for the Circaetus shawl is now also available in Spanish! It’s the perfect time for me to discuss this pattern in detail. Today I want to share my ideas behind the shape chosen for Circaetus. The triangle is a classic when it comes to shawl shapes. It’s easy to crochet a square, and […]
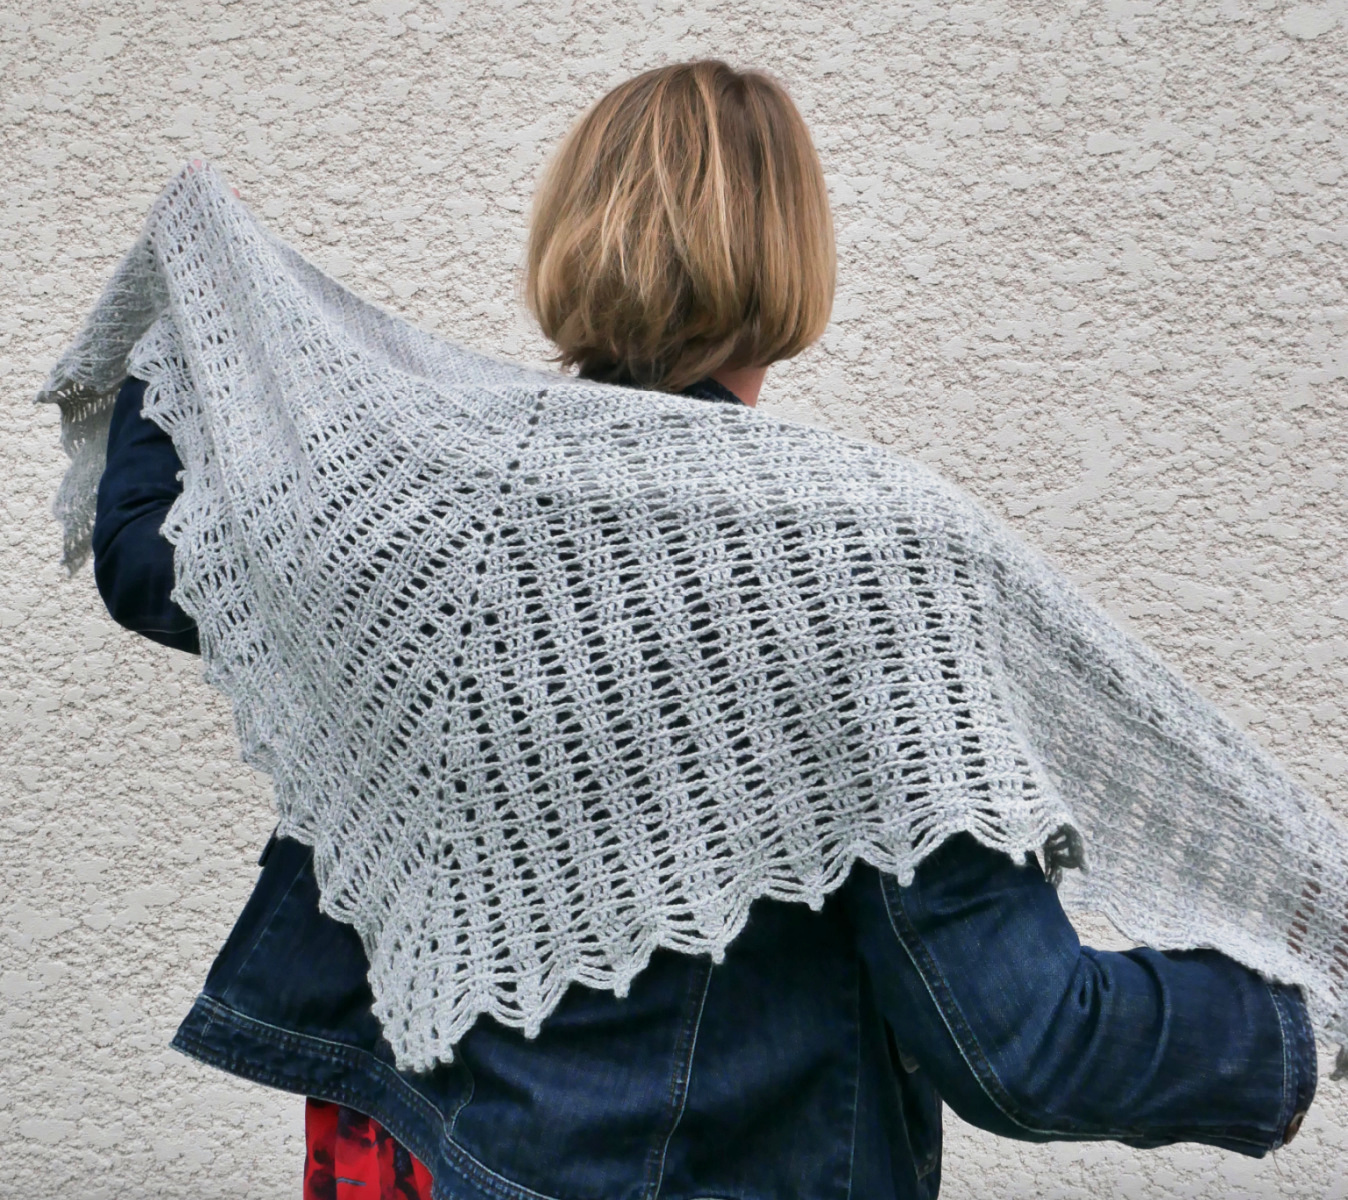
Circaetus – the stitch patterns
The pattern for the Circaetus shawl is now also available in Spanish! It’s the perfect time for me to discuss this pattern in detail. Today I invite you to explore the stitch patterns I chose for Circaetus. After having fallen in love with the yarn Balayage (see my article about the yarn, published yesterday), I […]
Circaetus – the yarn
The pattern for the Circaetus shawl is now also available in Spanish! On the occasion of my participation in the Love Yarn Madrid show, I am publishing the spanish version of my Circaetus shawl. It’s the perfect time for me to discuss this pattern in detail. Today I invite you to discover the yarn Balayage, […]
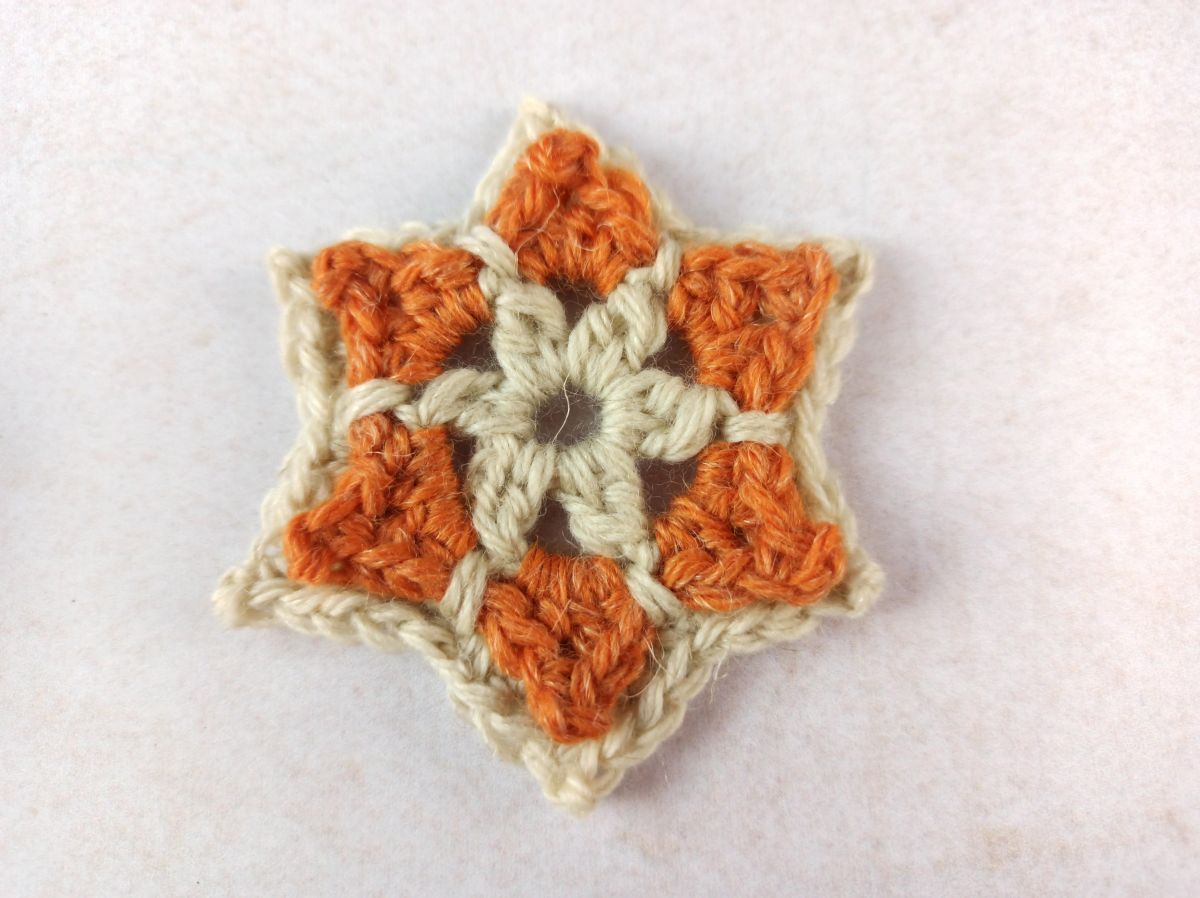
North Star
Many people start their year with resolutions, goals, intentions, a word of the year … or a North Star to guide their path. This is a small star to crochet at the beginning of a new year, or at any other time. Techniques and abbreviations:MC: main colourCC: contrast coloursl st: slip stitchch: chainsc: single crochethdc: […]

Happy New Year 2023!
I’m wishing you a very happy 2023, in the light of curiosity, creativity and kindness towards ourselves and others. My most heartfelt intention for 2023 is to re-engage the conversation with you about crochet and creativity. Here’s to our future creative adventures!
Weaving in ends in a crochet project – a video tutorial
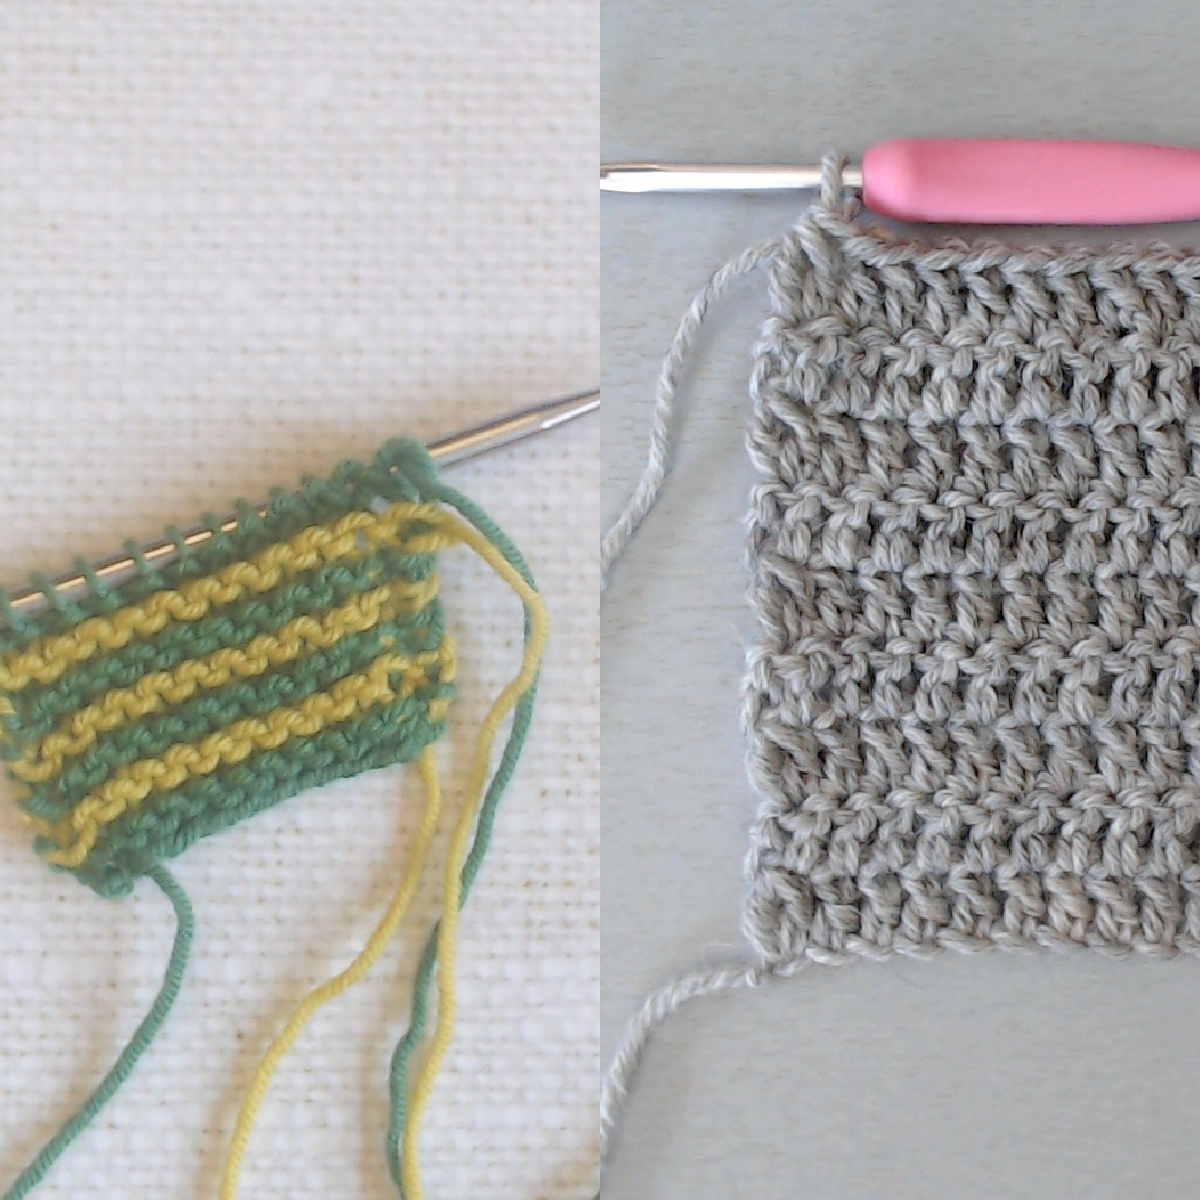
Selvedge stiches – what are they all about?
What are selvedge stitches? Selvedge stitches are simply the first and last stitches in any crocheted or knitted row. There can be 1, 2 or 3 selvedge stitches at the beginning and end of a row. In the following, I’m going to assume that the selvedge is a single stitch (just for ease of writing). […]
The Creative Gamble
It all starts with an idea. You don’t really know where it comes from, and sometimes it’s very vague. It can be a kind of vision, but it might also be a memory, a scent, a feeling… and sometimes it’s a full-blown concept that shows up from nowhere, presenting itself to you when you brush […]
Knitting stripes – carrying your yarns along the selvedge
A short video tutorial to help with the North Cape shawl – and, of course, with any other knitting project featuring narrow stripes !
When you can skip the swatch
I know, I know, you must always swatch before you start a new project – this is what I tell people all the time. And I also know that very often, this is not at all what you want to do! To be perfectly honest, there are situations where you can skip the swatch – […]