What is blocking?
Blocking is the last step to make your crochet (or knit) project a work of beauty.
When the last stitch has been made, and the yarn fastened or bound off, blocking will give your work its desired shape, will even out your stitches and will reveal the splendour of your lace.
There are different ways to block your work, but in all cases you will:
- add moisture to your work,
- give it its shape, and
- wait for it to dry.
Do I have to block my finished project?
There are no obligations in crochet (or knitting)! Sometimes, you might not want to block your work. If you like it the way it is, you can definitely skip this step.
But very, very often, the result will be so much more satisfying after blocking.
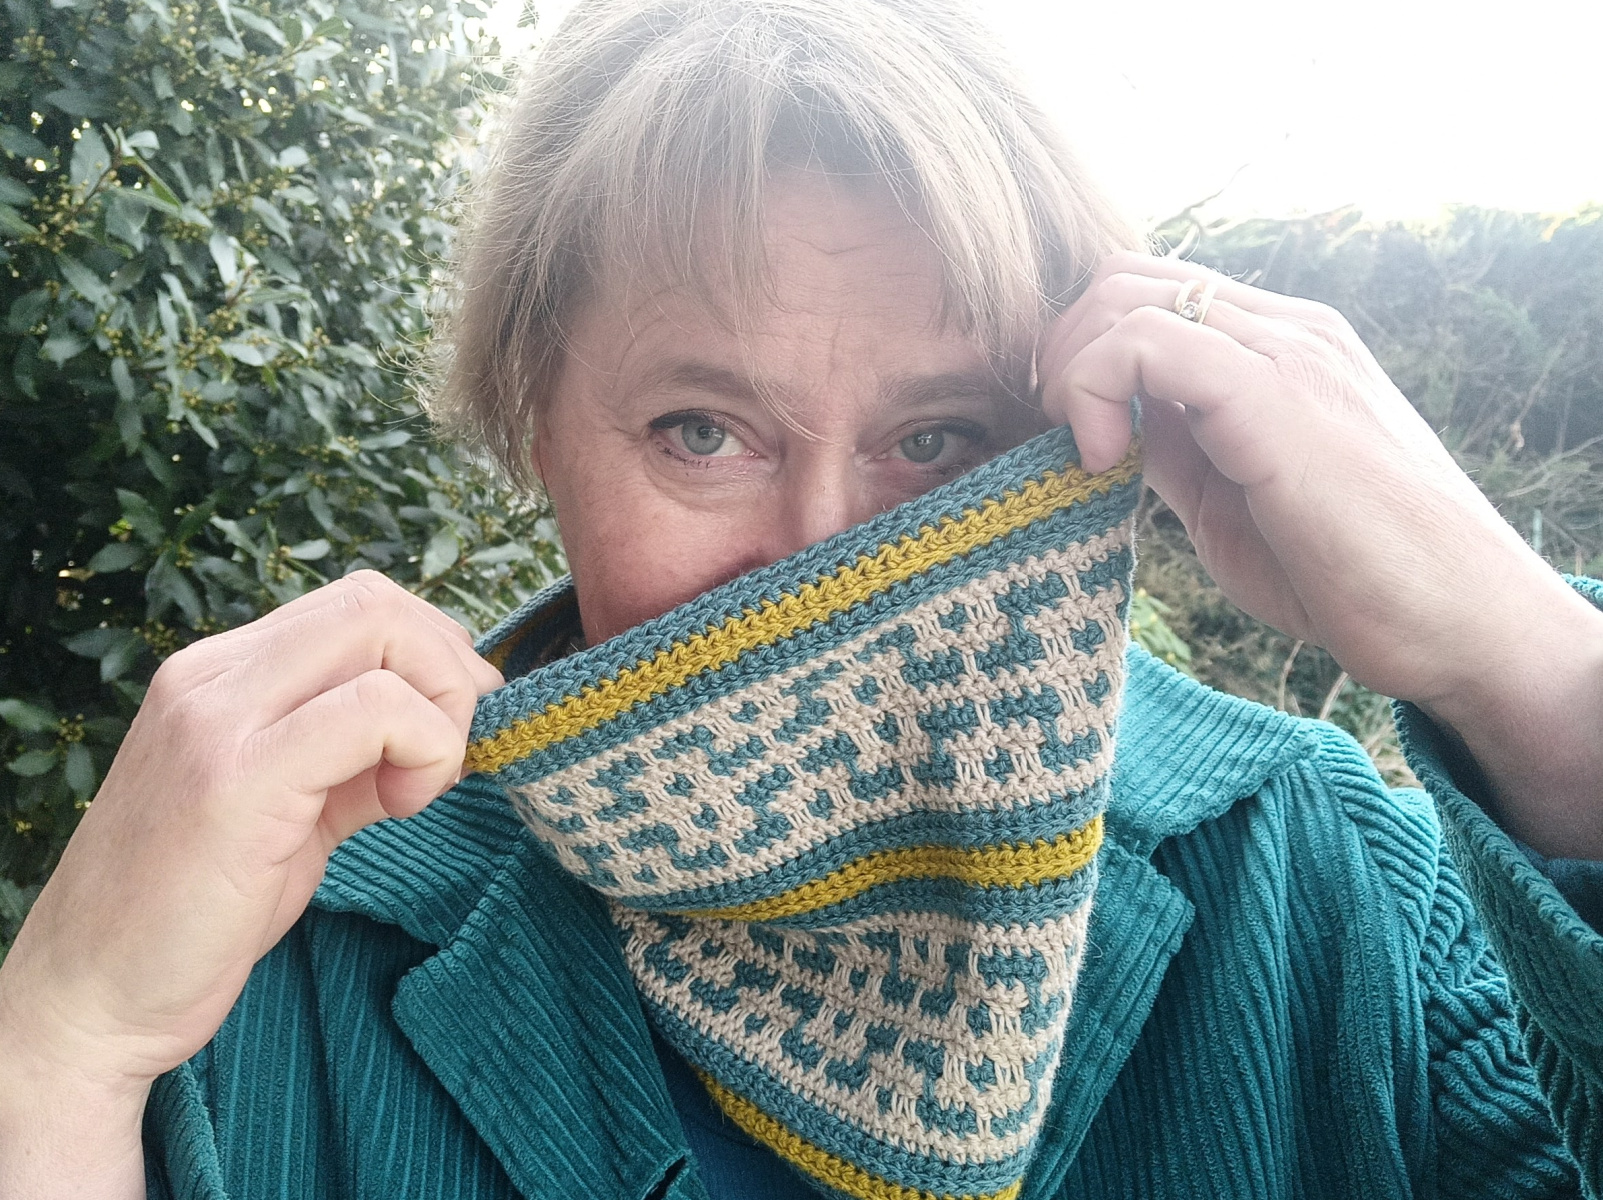
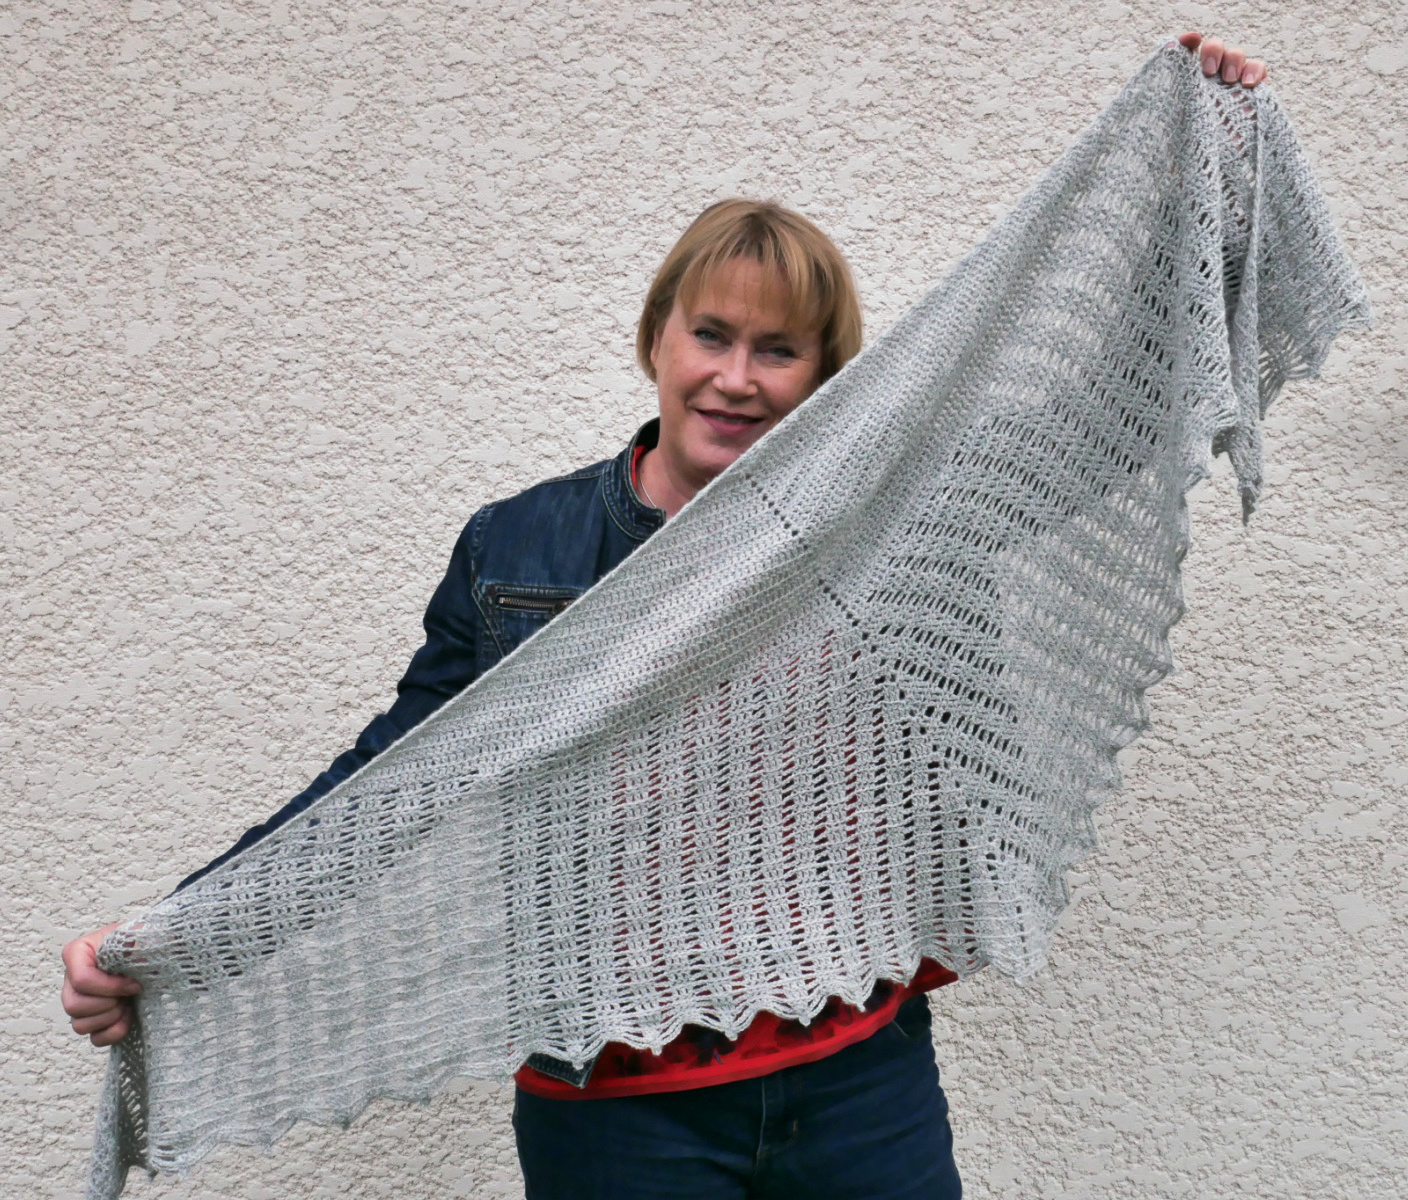
If you make a lace shawl (even with a simple stitch pattern), I do recommend that you block your finished project carefully – it’s only with blocking that your stitches will open up and show their true beauty.
If you make a garment or any other object with pieces to assemble, putting them together will be so much easier and give better results if you block your pieces first.
I am partial to blocking, for sure!
How do I do it?
There are two main ways to add moisture to your work:
- wet it in water, or
- steam it.
1) Steam blocking
This is a great method for small pieces!
Pin out your work on a surface that can take moisture, pointy pins and heat (if your work is small enough, your ironing board is a great option).
Hold your steam iron an inch or two over the fabric – do not touch it with the iron! – and use as much steam as possible. Take care not to burn yourself!
Make sure everything has cooled down and dried before removing your pins.
2) Wet blocking

There are many ways to do this. What I describe below is my preferred method.
Let the finished work soak in water for at least 20 minutes, to make sure the yarn is wet to its core.
Be careful: if it’s a project with two or more colours, you must be aware that there is a risk that the colours may bleed, even with a quality yarn. If your yarn is wool, alpaca or another animal fiber, add some vinegar to the water to fix the colours. If it’s cotton, linen or another plant fiber, you can try using salt. Watch the colour of the water carefully to spot any bleeding, and don’t let your work soak too long.
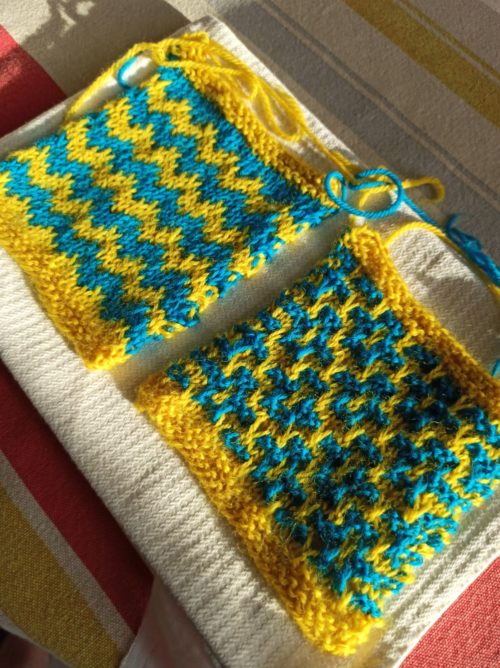
Personally, if I plan on using contrasting colours, I make a small, striped swatch before starting my project, with the colours I want to use. I soak this swatch in a white bowl and leave it to dry on a white towel, to spot any potential bleeding. If there is a problem, I prefer to know it before I start my project so I can adjust my colour choices if needed. Better to know it beforehand than after having completed the entire project!
Once your work is soaked through, take it out of the water with care, pushing it into a rough ball that you can support with your hands, so that it doesn’t stretch out of shape. Press it with your hands without wringing, to remove some of the water.
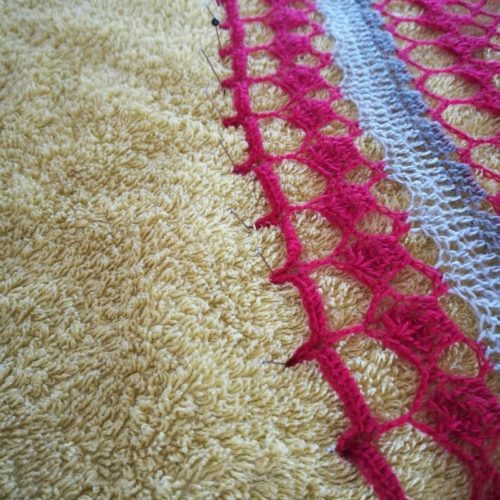
The next step is to put your work on an absorbant towel, patting it out a bit (without pulling too much), and roll up the towel with your work inside. To remove as much water as possible without wringing, I walk on the towel roll!
When you carefully unroll the towel, your project should still be slightly damp but not soaked – this is perfect for the next step, which is to pin it out.
Stretch it out on an appropriate surface (one that can take humidity and pins). There are specific foam blocking mats, but you can find other things that work. For the past 15 years or so I have used big boards of high-density foam, an insulation material I found in a DIY store.
Little by little, put in your pins, stretching your work as desired. Sometimes, it will be enough to cover your blocking surface with a (not super-soft) terry towel and pat the fabric out with your hands – the slightly uneven surface of the towel is enough to keep everything in place. But often you will need pins or other tools (see below for examples) to be able to stretch out the fabric properly, open up the stitch pattern and keep everything in place.

A tape measure is useful to check measurements and symmetry (if symmetry is required, of course!).
When everything looks good, leave it to dry!
Can’t I just iron the whole thing?
I strongly advise against ironing by putting your iron down on your work – except if you want to smash and flatten out your stitches. If you work with a synthetic fiber, you might melt it with your iron. If it’s a natural material, you risk burning it so that it definitely loses its softness and elasticity.
But of course, there is no rule without exceptions. If you are careful, you can try ironing a linen swatch, or put a small motif in acrylic between two pieces of cotton fabric and iron it (without ever touching the synthetic fiber with your iron) – the result might be a nice surprise!
Tools for blocking
You don’t need any sophisticated tools for blocking (water and pins are enough), but there are things that make the processes quicker and easier!
1) Blocking wires
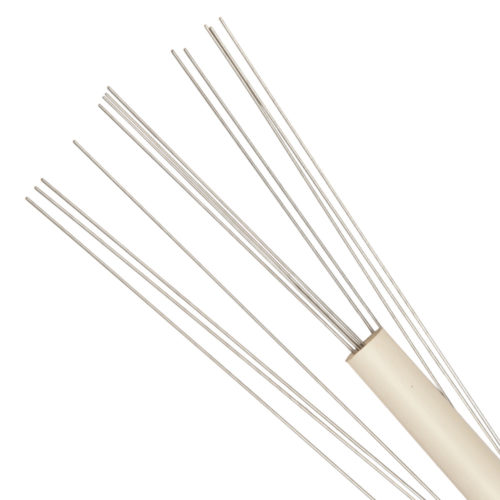
It’s time-consuming and sometimes difficult to pin straight edges, such as the edges of a stole, the sides of a triangular shawl or large squares. Blocking wires can be a great help. You can put them through a straight selvedge or through chain spaces in a border. The blocking wires are held in place with pins (but you will need many fewer of them) or comb blockers (see below).
The wires are not completely rigid, and some are more flexible than others. They can be used for larger rounded shapes.
Click to see the blocking wires in the shop.
2) Comb blockers
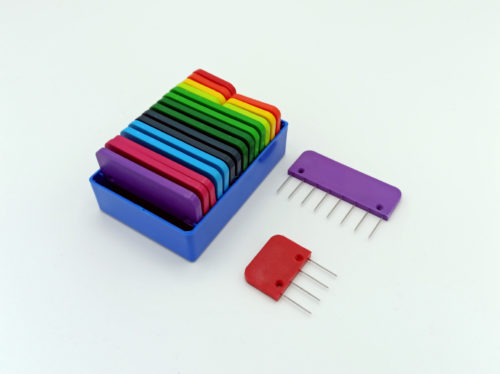
Take care not to stab yourself! But comb blockers (often called knit blockers, but they work great for crochet projects, too) are super-helpful when blocking swatches or squares, or to hold blocking wires safely in place.
Each blocker or comb plays the part of several pins in a straight row – they speed up the pinning process a lot when used appropriately.
Click here to see the Knit Pro comb blockers available in the shop.
3) Pins
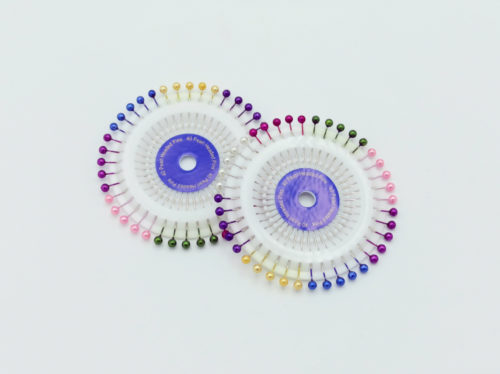
This is your basic and universal tool to hold your pieces in place when waiting for them to dry. Take care to use only shiny (rust-proof) pins when pinning projects in light colours, to avoid any staining. I am very partial to pins with rounded (pearl) heads, since they are softer on my fingers, and easier to see, so that I’m sure to remove them all before moving my blocked and dry project. This is of highest importance if you have taken advantage of your husband’s overnight absence to block a shawl on his side of the bed, believe me.
Click here to see the pearl-headed pins in the shop!
And how about you? What do you think about blocking, and how do you like to do it?